As you spend more time on the road and use your RV in various settings, you may find that your current solar setup isn't quite meeting your energy needs. Adding more solar panels to your existing RV system can boost your power generation, allowing you to run more appliances and stay off-grid for longer periods. Here’s a step-by-step guide to help you expand your RV solar system effectively and safely.
Step 1: Assess Your Current System
Before adding more panels, take a detailed inventory of your existing solar setup. Note the specifications of your current solar panels, charge controller, batteries, and inverter. Ensure that your current system components can handle the additional power. Key aspects to evaluate include:
- Solar Charge Controller:Determine if your charge controller can handle additional panels. For example, PWM controllers typically have a lower capacity than MPPT controllers.
- Batteries:Check if your battery bank has enough capacity to store the extra energy generated by the new panels.
- Inverter: Ensure your inverter can handle the increased power output from the new solar panels.
Step 2: Calculate the Number of Panels You Need
Determine how much additional power you require by evaluating your current and anticipated energy consumption. This involves listing all the new devices or appliances you intend to power and estimating their daily energy usage in watt-hours. Use this information to calculate how many additional solar panels you need. For example, if your additional daily energy requirement is 600 watt-hours and you have 5 peak sun hours, you would need 120 watts of extra solar panels (600 watt-hours / 5 peak sun hours).
Step 3: Choose Compatible Solar Panels
Select additional solar panels that are compatible with your existing ones. Ideally, they should have similar voltage and current ratings to ensure they work harmoniously. Mixing different types or brands of panels can lead to inefficiencies and potential issues with power output. If identical panels are not available, choose panels with similar electrical characteristics.
Step 4: Install Additional Panels
-
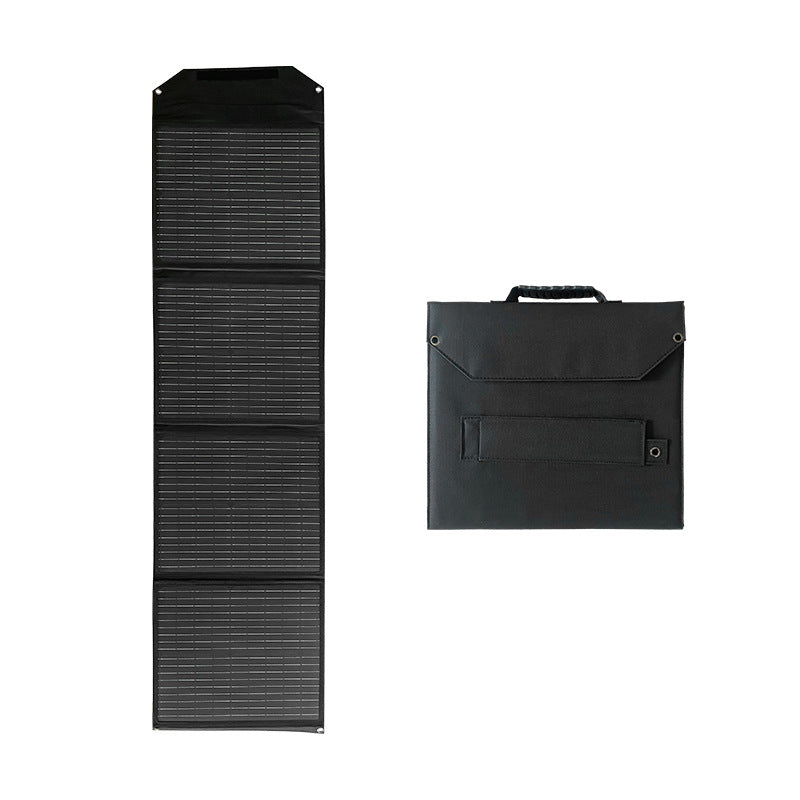
Mounting: Identify suitable locations on your RV roof for the new panels. Ensure the panels are placed where they will receive maximum sunlight exposure without shading. Use appropriate mounting brackets and hardware to secure the panels. If space on the roof is limited, consider portable solar panels that can be set up when parked and stored during travel.
-
Adding panels involves wiring them into your existing system. Here’s how:
-
Series vs Parallel Wiring: Determine whether you'll wire the new panels in series or parallel.
- Series Wiring: Increases voltage, ideal for long wire runs.
- Parallel Wiring: Increases current, easier to manage for systems with lower voltage.
- Use Proper Gauge Wires: Ensure the wiring is heavy enough to carry the increased current safely.
- Connect to Charge Controller: Follow the manufacturer's instructions to add the new panels to the charge controller, making sure the connections are secure.
-
Series vs Parallel Wiring: Determine whether you'll wire the new panels in series or parallel.
Step 5: Upgrade the Charge Controller
If you're adding more panels, you may need a charge controller with a higher amperage rating.
- PWM vs MPPT: If you currently have a PWM controller, switching to an MPPT controller can improve efficiency, especially if you’re adding a significant number of panels.
- Sizing the Controller: Ensure the controller can handle the increased power. For example, if you're adding 200W more to an existing 400W system, you'll need a controller rated for at least 600W.
Step 6: Expand the Battery Bank (If Needed)
More solar panels will generate more energy, so you may need to increase your battery capacity as well.
- Add More Batteries: If your current battery bank isn’t large enough to store the additional power, consider adding more batteries with the same voltage and chemistry type.
- Monitor Battery Charging: Make sure the new solar panels don't overcharge your existing batteries, as this can lead to damage.
Step 7: Test the System
After installation, perform the following checks:
- Monitor Output: Check the charge controller and monitor the output of the system to ensure everything is working correctly.
- Test Power Usage: Turn on your RV appliances and check if the system can meet your needs without draining the battery too quickly.
Recommend our home 5kW solar system
Our home 5kW solar systems are ideally tailored to your home energy needs. Not only will this system significantly reduce your energy bill, it will also provide you with reliable and consistent clean energy.


